AppIntents
Integrate your app with iOS
AppIntents in iOS make it easier to connect your app’s features with system-wide experiences like Siri, Shortcuts, and Spotlight. Instead of writing complex integrations, you can declare clear, type-safe intents that expose your app’s functionality to users in a natural way. This not only improves discoverability but also gives users faster, more personalized interactions with your app. In this article, we will discover the power of AppIntents. Let's begin!
We will start with the simples example that can be ran on a device. Create a file called HelloIntent and place the code below in it:
import AppIntents

struct HelloIntent: AppIntent {
    static let title = LocalizedStringResource("Say hello")

    func perform() async throws -> some IntentResult {
        print("Hello")
        return .result()
    }
}
That's it. You don't need to declare your intent in any configuration file. The system recognizes any types conforming to AppIntent at build time and automatically generate the required metadata for us. How cool is that.
Let's brake down this code. Looking at the requirements of the AppIntent protocol, we will see that we need a title and a function called perform that handles the execution of the intent. The title property will be used everywhere where the intent can show up.
You may also notice that we are returning a .result(). Every intent has to use this method for creating a result of their execution, however we will see later that this method has multiple, more useful variations.
💡 Note: The title of the intent is not a String (or a
LocalizedStringKeyas you would expect) but aLocalizedStringResource. This type is very similar toLocalizedStringKey, the only difference is that it allows the resolution of the string at a later time which is useful for running code in different processes. This is important because the app intent is running in different processes
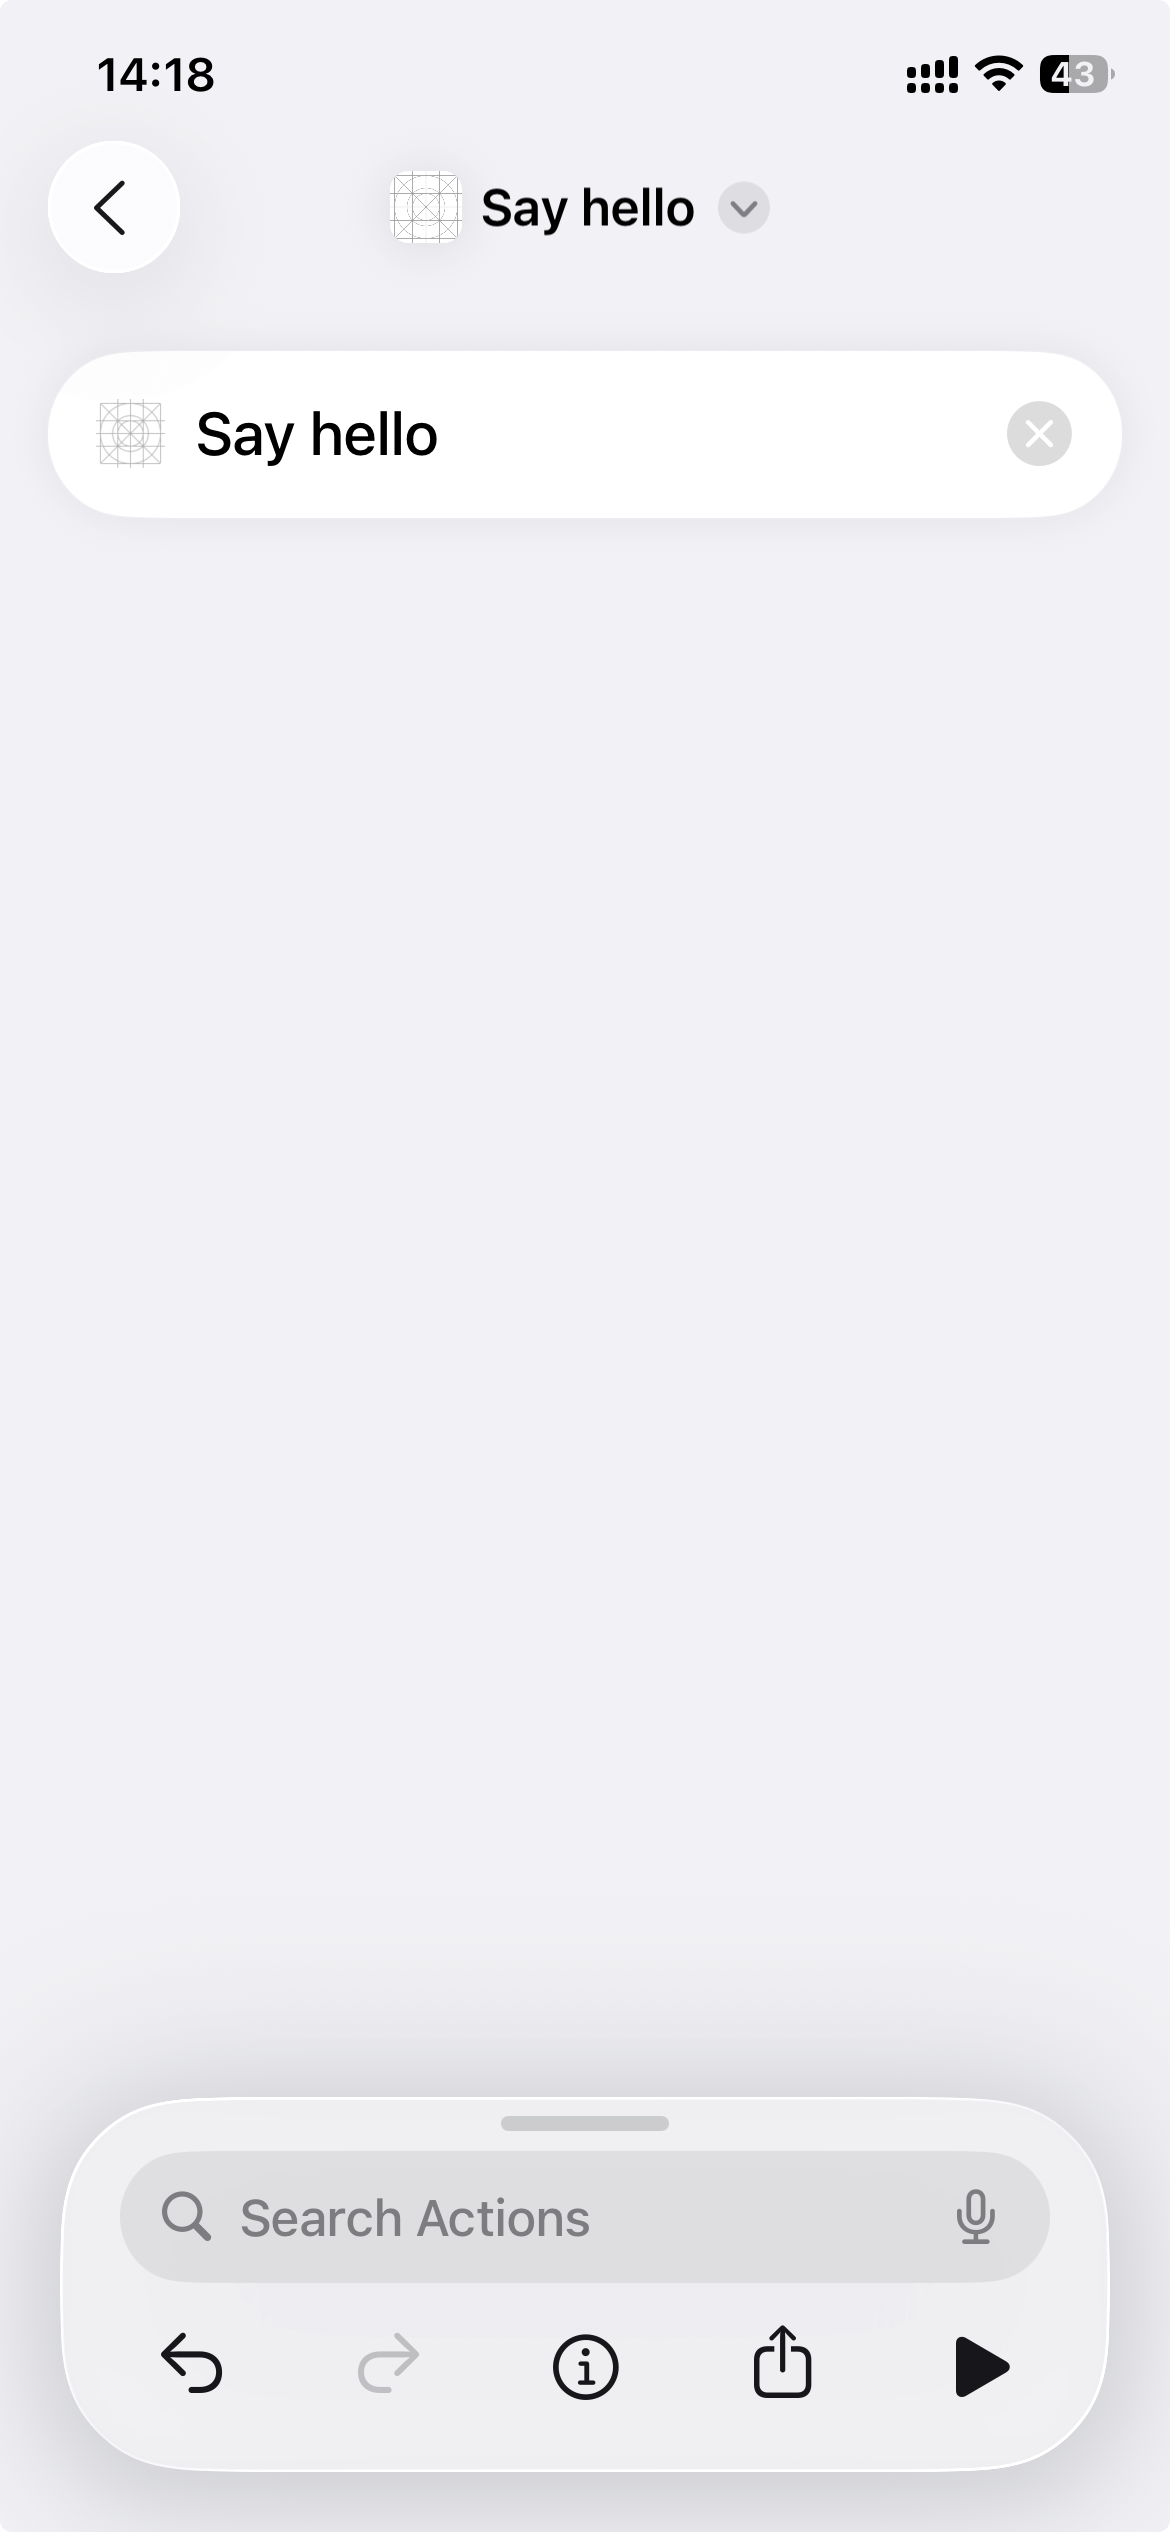
If you run your app at first you will not see much. Our intent doesn't have any visual representation in the actual app and if you try too look it up in spotlight, you will not find it there either. That is because without more configuration, the intent is not exposed to spotlight or Siri yet. In fact, the only place we can find it yet is the shortcuts app.
Let's open it up and create a new shortcut. If you filter for your app's name, you should see 'Say hello' as an option. Add it to your timeline and try to run the shortcut. The text 'Hello' will appear in the console.
Let's produce some output
So far so good, but our intent doesn't doo that much. Let's try to return a value so it can be integrated into a shortcut like a really useful tool. For this, we need to change the perform methods return type to some ReturnsValue. This will signal the metadata generator that our intent returns an integer value. Without this, if we try to return something it will generate a runtime error.
func perform() async throws -> some ReturnsValue<Int> {
    return .result(value: .random(in: 1...100))
}
Add another item to your timeline that uses the return value of our intent. Running the shortcut should look something like this:
This starts to look more interesting. But what if we don't want to create a shortcut just to show some text to the user? Imagine an intent that shows your last entry from the app's database. It wouldn't be that useful if you had to prompt the user to set up a shortcut on their phone.
Of course, there is a solution. Let's see how to change the code:
func perform() async throws -> some ReturnsValue<Int> & ProvidesDialog {
    let value = Int.random(in: 1...100)
    return .result(value: value, dialog: "Hello \(value)")
}
Note that the return value should be extended with ProvidesDialog. This is an other IntentResult type that indicates our intention to show a visual feedback for the user. We still keep the returned value so our intent can be used in combination with other shortcuts, but it is not a must any more. Remove everything from the timeline except your custom intent. Running the shortcut will have a similar result as before.
What about the input?
Now that we can produce outputs, let's see how to ask the user for an input. Fortunately, reading user input is just as easy as everything was so far. All you need to do is adding a property to our intent and marking it with the @Parameter property wrapper.
struct HelloIntent: AppIntent {
    static let title = LocalizedStringResource("Say hello")

    @Parameter(title: "Value")
    private var value: Int

    func perform() async throws -> some ReturnsValue<Int> & ProvidesDialog {
        return .result(value: value, dialog: "Hello \(value)")
    }
}
As always, run the app and check out the shortcuts app. What you will find is an input field that appeared with the title Value on the AppIntent's card
As you can see, you can use any primitive type without further configuration but if you want more complex data types, that is also possible using AppEntity or AppEnum. In order to keep the size of this post somewhat manageable, I've decided to move these two topics into their own blog post. You can find it here: App Enums and App Entities
Continue in the foreground
Sometimes our intent has to open the main app to perform some more serious task. Up until iOS26, this could be achieved by conforming to ForegroundContinuableIntent and calling requestToContinueInForeground.
struct HelloIntent: ForegroundContinuableIntent {
    static let title = LocalizedStringResource("Say hello")

    @Parameter(title: "Blog Post")
    private var value: BlogPost

    func perform() async throws -> some ReturnsValue<String> & ProvidesDialog {
        try await requestToContinueInForeground()
        return .result(value: value.id, dialog: "Hello \(value.name)")
    }
}
This protocol and the requestToContinueInForeground method is deprecated in iOS 26, the new way of achieving this functionality is by specifying the supportedModes property in the appIntent and calling continueInForeground in perform
struct HelloIntent: AppIntent {
    static let title = LocalizedStringResource("Say hello")
    static var supportedModes: IntentModes = [.background, .foreground(.dynamic)]

    @Parameter(title: "Blog Post")
    private var value: BlogPost

    func perform() async throws -> some ReturnsValue<String> & ProvidesDialog {
        try await continueInForeground()
        return .result(value: value.id, dialog: "Hello \(value.name)")
    }
}
The result of both of these is
Ok, ok, but where is Siri?
Up until now, we have only seen our intent in the shortcuts app. In a real app however, we are not always targeting power users who are into setting up shortcuts. For these users, we want to expose the app intent to Siri and spotlight. To achieve this, first we need to create a shortcut provider:
struct ShortcutProvider: AppShortcutsProvider {
    @AppShortcutsBuilder
    static var appShortcuts: [AppShortcut] {

    }
}
Similarly to how AppIntents are discovered automatically, the Shortcut provider doesn't have to be set in any configuration files either. It is automatically picked up by the compiler.
💡 Note: The
AppShortcutsBuilderresult builder. It is not mandatory but similar to how SwiftUI works, it makes declaring shortcuts easier.
Now let's define our shortcut. For this, we will need to provide a couple of phrases the user will be saying to Siri. Note how in these phrases we can include the parameters of our intent but it is not mandatory. If the user doesn't include them in the phrase, Siri will ask follow up questions. Also note that the application name has to appear in every phrase.
AppShortcut(intent: HelloIntent(),
            phrases: [
                "Say hello in \(.applicationName)",
                "Say hello to \(\.$value) in \(.applicationName)",
            ],
            shortTitle: "Say Hello",
            systemImageName: "hand.raised")
Now run the app and search the app name in spotlight or try saying "Hey Siri, say hello in {app name}"
Conclusion
AppIntents provide a modern, streamlined way to expose your app’s features to Siri, Shortcuts, and Spotlight. By declaring clear, type-safe intents, you make your app more discoverable and easier to use, both for power users and those who prefer voice or system integrations. With minimal setup, you can deliver personalized, interactive experiences that feel native to iOS. As you explore more advanced features like AppEnum and AppEntity, you’ll unlock even greater flexibility and integration possibilities for your app. Now is a great time to start making your app more accessible and powerful with AppIntents.
Related articles
Here are some more articles that may interest you. Check them out!
The TimelineView
published on November 2, 2025
SwiftUILearn how to use SwiftUI’s TimelineView to build time‑based animations. This article explains scheduler options, shows practical examples (pauseable clock, smooth minute‑progress ring with hue shifts and tick marks), and helps you choose the right schedule for smooth or precise updates.
Read moreFoundation Models
published on October 8, 2025
SwiftAILearn how to use Apple’s foundation models to run large language models locally on iOS. This article covers chat, streaming responses, structured data generation, and custom tools, helping you build secure and responsive AI features without relying on the cloud.
Read moreWorking with CoreBluetooth
published on September 30, 2025
SwiftiOSDiscover how to use CoreBluetooth in iOS to build apps that communicate with Bluetooth Low Energy devices. This article explains the roles of central and peripheral, how services and characteristics work, and provides a practical example for implementing both sides of BLE communication in Swift.
Read more